If you’ve ever been tempted to pick off your gel polish when it starts lifting, you’re not alone—but that’s the worst thing you can do for your nails. As someone who has studied nail health and salon-grade removal techniques, I can confidently say this: knowing how to remove gel nail polish correctly makes the difference between strong natural nails and brittle, damaged ones. The good news is that you don’t need professional equipment or a salon appointment to do this right. With the proper technique and a little patience, you can safely remove gel polish at home without harming your natural nails.
This guide will walk you through the safest removal method, mistakes to avoid, expert tips, and after-care to keep your nails healthy and smooth.
Why Proper Removal Matters
Gel polish bonds tightly to the nail plate. When peeled or scraped incorrectly, it takes layers of keratin with it—leading to:
- Peeling nails
- Weakness and thinning
- Painful sensitivity
- White patches and surface damage
Proper removal, however, dissolves the polish rather than ripping it off.

What You’ll Need
Here’s everything required for salon-level removal at home:
- 100% pure acetone
- Cotton balls or pads
- Aluminum foil or plastic wrap
- 180-grit nail file + buffer
- Cuticle oil or petroleum jelly
- Orangewood stick or cuticle pusher
- Soap + water for post-removal
Regular nail polish remover is not strong enough. It must be pure acetone.
Step-by-Step: How to Remove Gel Nail Polish Safely
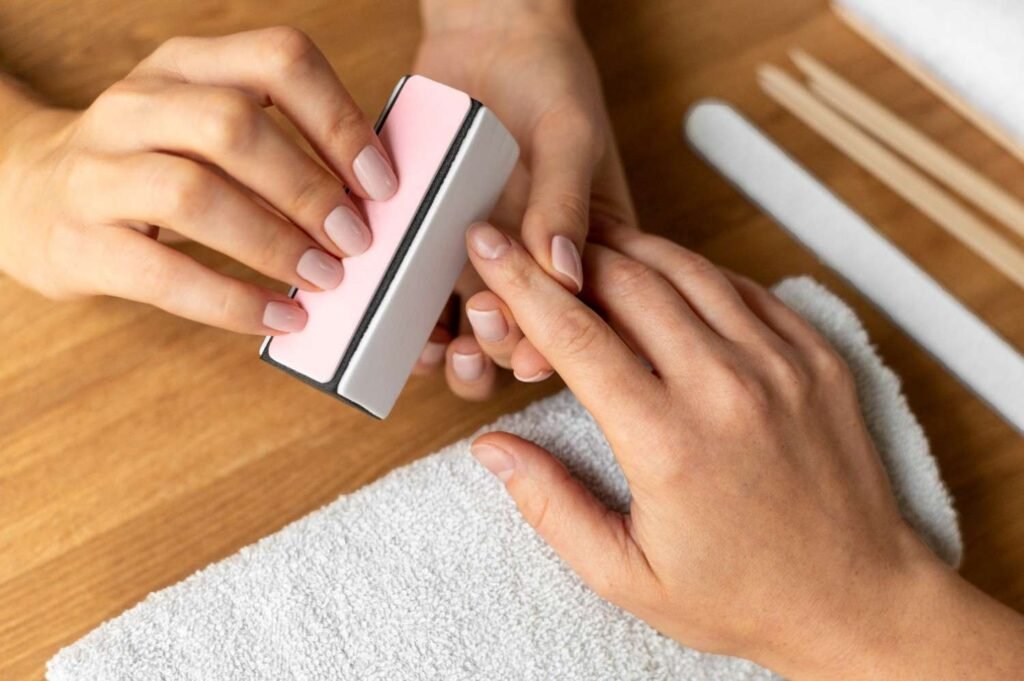
Step 1: Gently buff the top coat
Use a file to remove the shiny surface of the gel. You are not trying to file off all the polish—just the top seal. This step allows acetone to penetrate more effectively.
Step 2: Protect your skin
Apply cuticle oil or a thin ring of petroleum jelly around your nail bed. Acetone is drying, and this creates a protective barrier that keeps your skin hydrated.
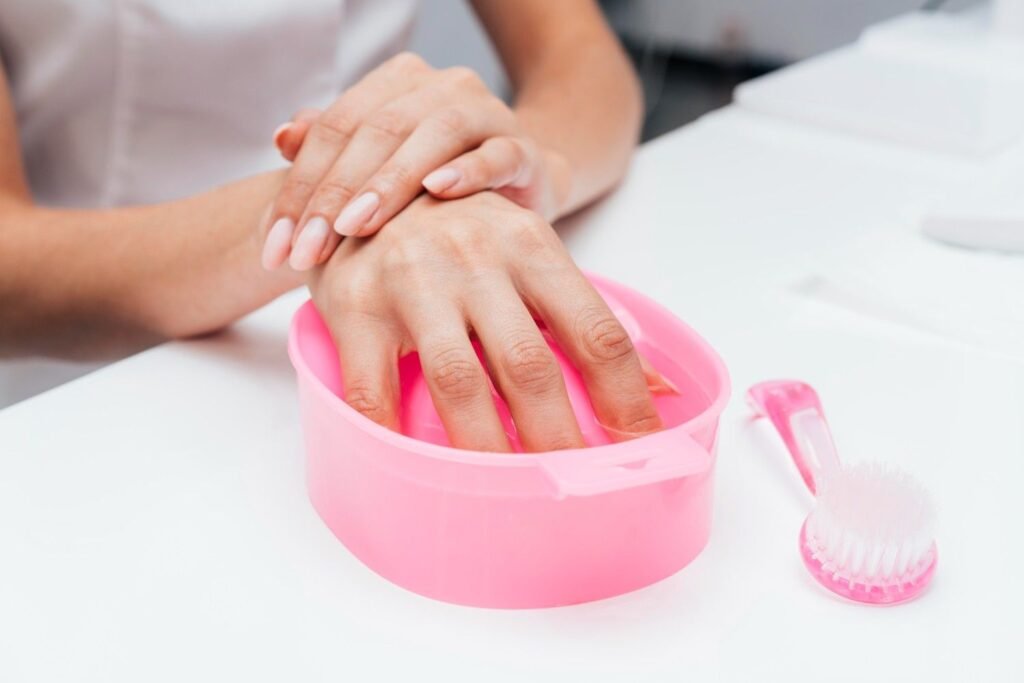
Step 3: Soak cotton with acetone
Fully saturate it—not damp, but soaked. The acetone needs full contact with the gel.
Step 4: Wrap the nails tightly
Place the acetone-soaked cotton on the nail, then wrap with foil (or press-seal plastic). This keeps the acetone from evaporating and helps trap heat for better removal.
Step 5: Wait 10–15 minutes
Be patient and do not unwrap early. If the gel is thick or layered, you may need an additional 5 minutes.
Step 6: Push off the polish
Remove one wrap at a time and gently slide off loosened gel with a cuticle pusher. The polish should crumble off effortlessly—no force required.
Step 7: Re-soak stubborn spots
Never force the gel off. If it resists, re-wrap for 5 more minutes to avoid nail damage.
Step 8: Buff, wash, and rehydrate
- Lightly buff the nail surface
- Wash with soap and water
- Apply cuticle oil and/or hand cream
Your nails will feel noticeably smoother and healthier afterward.
Quick Comparison: Safe Removal vs Harmful Removal Methods
| Method | Effectiveness | Nail Health Impact | Recommended |
| Acetone soak with foil | Excellent | Safe | Yes |
| Filing entire gel layer off manually | Moderate | Can thin nails | Only if skilled |
| Electric drill removal | Excellent | Safe when done professionally | Salon-only |
| Peeling/picking gel off | Quick | Severe nail damage | Never |
| Regular nail polish remover | Poor | Little effect | No |
Expert Tips for Best Results
- Use 100% acetone for proper breakdown
- Warm hands help acetone work faster—but never heat acetone directly
- Do one hand at a time for better control
- Avoid metal scrapers—wooden pushers are gentler
- Take breaks between gel applications to allow nail recovery
Common Mistakes to Avoid
- Using cheap non-acetone remover
- Filing aggressively into the natural nail
- Unwrapping early to “check” progress
- Ripping off semi-loosened chunks
- Applying new gel immediately afterward without hydration
After-Care: Strengthening Your Nails
Once the gel is safely off, give your nails some extra love:
- Apply cuticle oil daily
- Use a biotin supplement if nails are thin
- Avoid harsh detergents without gloves
- Consider a break from gel for 1–2 weeks
- Use strengthening treatments like OPI Nail Envy or Hard As Nails
This helps rebuild moisture and flexibility, supporting long-term nail health.
Frequently Asked Questions
1. Can you remove gel polish without acetone?
Technically yes, using nail drills or gel-removal steam devices. But acetone remains the safest and most accessible method at home.
2. How often can I wear gel polish?
Ideally, take a 1–2 week break between applications to maintain nail health.
3. Why do my nails feel dry after removal?
Acetone strips moisture from nails. Cuticle oil helps restore hydration.
4. Can I use plastic wrap instead of foil?
Yes. Plastic traps heat well and increases acetone effectiveness.
5. Do salons remove gel differently?
They use the same process, but sometimes incorporate electric filing for faster removal.
Final Thoughts: Removing Gel Polish the Right Way
Learning how to remove gel nail polish correctly not only preserves nail strength but also saves you expensive salon visits. When you take your time and follow the proper steps, the polish loosens naturally, leaving your nails healthy and intact. The real secret is patience—never rush, never scrape, and never peel gel polish off. If you respect the process, your nails will reward you by staying strong, smooth, and beautiful.