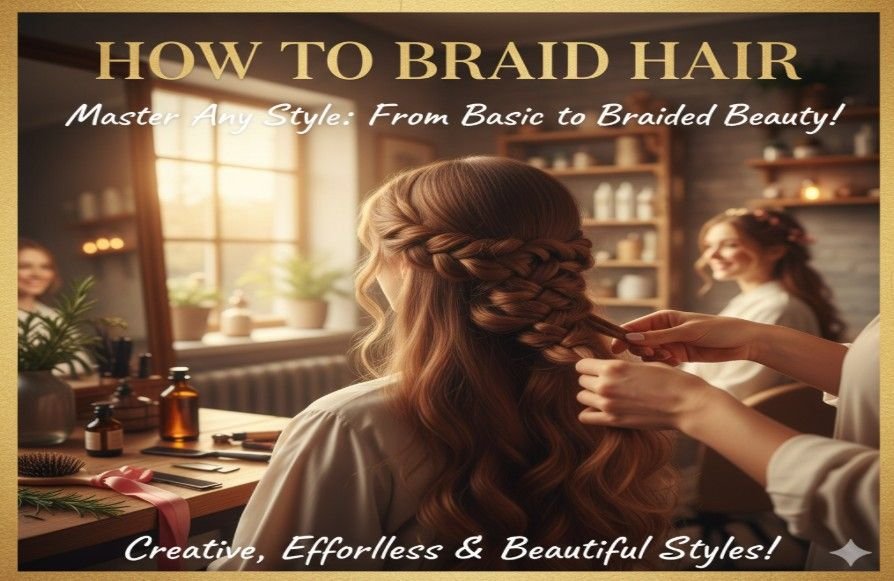
Learning how to braid hair is one of the most rewarding styling skills you can master. Whether you want a polished school-day braid, a romantic fishtail, or the iconic Dutch braid that pops out dramatically, the foundation of good braiding is consistent tension, smooth sectioning, and a calm rhythm with your hands.
I’ve spent years experimenting with braids on various hair textures, and in this guide, I’ll walk you through how to braid hair the right way, from preparation to technique, variation, and finishing. Braiding is both an art and a skill, and once you get the hand movement right, it becomes effortless and even relaxing. Over time, you’ll develop speed, confidence, and your own personal braiding style.
Start Here: What You Need Before You Braid
Before you even attempt to braid, prepping the hair makes a huge difference. Braiding knotty hair results in uneven tension and frizz.
Prep steps:
- Detangle thoroughly with a brush or wide-tooth comb
- Lightly dampen the hair or apply a leave-in conditioner
- Optionally tie the hair into a ponytail if you’re still learning
- Keep a hair tie and smoothing product nearby
This is especially important for layered or slippery hair, which tends to escape from the braid.
Technique 1: The Basic Three-Strand Braid

This is the foundation braid — once you can do this smoothly, the rest become much easier. Here’s how to braid hair using this method:
- Divide the hair into three equal sections
- Cross the right section over the middle
- Cross the left section over the new middle
- Repeat right over middle, left over middle
- Continue until you reach the end
- Secure with a tie or elastic
Expert advice:
- Keep consistent tension, but don’t pull too tight
- Keep sections equal in thickness
- Relax your wrists — stiff hands create uneven braids
Master this one, and the rest of the process will start clicking naturally.
Technique 2: How to Braid Hair into a French Braid

A French braid lays flat and becomes tighter as you add hair into each section.
Here’s the process:
- Start with a small triangle section at the crown
- Divide it into three pieces
- Begin braiding normally
- Each time you cross a strand, add in a small piece of hair from the side
- Continue down the head until no loose hair remains
- Finish with a regular braid
The French braid looks sleek, elegant, and is excellent for workouts or daily wear.
Technique 3: How to Braid Hair into a Dutch Braid
This is sometimes called an “inside-out French braid.” Instead of braiding over, you braid under, which makes the braid stand up in 3D.
Technique:
- Divide into three sections
- Cross the right section under the middle
- Cross the left under the middle
- Add hair into the outer sections before crossing under
- Continue down the scalp
This style works beautifully on thick hair and looks bold in photographs.
Technique 4: The Fishtail Braid (Elegant and Detailed)

This method uses only two main sections.
Steps:
- Split hair into two large sections
- Take a small thin strand from the outside of the right section
- Cross it over to join the left section
- Then take a small thin piece from the left
- Cross it to the right
- Continue until finished
The result is intricate, almost scale-like, and works great for long hair.
Technique 5: The Rope Braid

Simple but striking:
- Divide hair into two sections
- Twist both sections to the right
- Wrap them around each other to the left
- Secure at the end
The opposing twist directions help the braid stay tight and structured.
Quick Comparison Table: Which Braid Should You Choose?
| Braid Style | Difficulty | Works Best On | Appearance | Key Technique |
| Three-Strand | Easiest | All hair types | Classic, simple | Left/right over middle |
| French | Moderate | Longer hair | Sleek, blended | Add hair as you braid |
| Dutch | Moderate | Medium to thick hair | Raised 3D look | Cross sections under |
| Fishtail | Medium-hard | Long hair | Detailed & textured | Two-strand micro-sections |
| Rope | Easy | Medium to long hair | Twisted rope effect | Twist & wrap opposite |
The Most Common Mistakes (and How to Fix Them)
Mistake: Uneven Sections
Solution: Re-section the hair by combing from scalp to ends before splitting.
Mistake: Braid loosening or unraveling
Solution: Add a styling cream or light mousse before braiding.
Mistake: Frizz sticking out
Solution: Smooth hair with conditioner, serum or hair oil first.
Mistake: Braid looks flat
Solution: Try the Dutch braid or pancake the braid by gently tugging the loops.
Tips for Braiding Different Hair Types
Straight Hair
Add texture first: dry shampoo, sea salt spray, or matte pomade.
Wavy Hair
Braids look naturally fuller, minimal prep required.
Curly Hair
Finger-detangle gently and avoid over-brushing to prevent frizz.
Coily or Tight-Curly Hair
Use a leave-in conditioner or light oil for slip and definition.
Each hair type can hold a braid, you just need the right prep routine.
How to Braid Your Own Hair vs Someone Else’s
Braiding another person’s hair is easier because:
- you can see what you’re doing
- your hands are always positioned behind the head
- you have full control of movement
Braiding your own hair requires:
- elbow movement around your head
- working by “feel” instead of sight
- learning a mirrored hand rhythm
If you’re braiding your own hair while learning, use two mirrors: one behind, one in front.
Finishing and Maintaining a Braid
After braiding:
- Smooth flyaways with a light serum
- Secure ends with a soft elastic
- Sleep in a satin bonnet or on a silk pillowcase if wearing overnight
To avoid damage, never yank out your elastic or unbraid too quickly.
Removing a Braid Safely
Do not pull apart randomly — this causes breakage.
Instead:
- Start at the bottom
- Work upward slowly
- If hair feels stuck, add a bit of conditioner or detangling spray
Patience saves your ends.
Frequently Asked Questions
1. How long does hair need to be to braid?
Even 3–4 inches can braid, but longer lengths create more stable results.
2. Is it better to braid hair wet or dry?
Slightly damp or lightly conditioned hair is ideal. Fully wet hair stretches and can weaken.
3. Can braiding damage my hair?
Only if too tight, too dry, or worn for too long. Gentle braiding actually protects hair.
4. How long can I keep a braid in?
Loose braids: 1–3 days. Tight scalp braids: up to 1–2 weeks with care
5. Should I sleep with my hair braided?
Yes, especially if you want to prevent tangling or friction damage.
Final Thoughts: Mastering How to Braid Hair
Learning how to braid hair isn’t just about styling — it’s a way of connecting with hair as a creative medium. Over time, braiding becomes intuitive: your fingers memorize the motion, your coordination improves, and you naturally experiment with patterns. Many people find braiding soothing, even therapeutic, as it encourages calm, patient repetition. With practice, you’ll develop a natural sense of tension, proportion, and movement that allows you to braid confidently without overthinking the process.