Do you, or have you been wanting to, make your own yogurt? It is delicious for breakfasts and snacks and my kids absolutely love it! If you are looking for ways to make family meals a bit healthier, try adding some yogurt to the morning granola or offering fruit and yogurt dipping sauce for a snack. We add a bit of maple syrup to ours, and it is so delicious.
Yogurt has live cultures that help with immunity and good digestion and for centuries it has long been held as a staple of a good, healthy diet. As a sidenote, kefir is also a great option to build up the good bacteria in the gut, and boost the immune system while improving digestion. Honey Colony has an amazing kefir starter, which you can find here.
There are lots of options for both yogurt and kefir in many stores, but if purchasing is the best option for any given moment it is always best to choose organic. It is not hard these days to find some made with organic milk. As with most things organic, it will be a fair bit pricier. Enter the beauty of having the ability to make your very own!
To get started, you may want to simply purchase a yogurt maker online or at a local kitchen supply store.
These are really handy little units which hold 6 pint sized cups. Live cultures will multiply nicely in the consistent warm temperature.
First, choose the milk you would like to use.
Naturally, the healthier your milk, the healthier your results will be. I have tried just about every kind of milk available, and find that for thickness, organic goat or dairy milk works best. Lighter milks such as almond, rice or soy don’t seem to thicken up quite as well. In these cases, we simply add a touch of fruit syrup and make it into a drink. All good in any case!
Be sure to start your process off on the right foot with a good batch of yogurt starter (culture).
Choose a powdered form or use a ½ cup of (organic!) store bought yogurt. Be sure to reserve some for your next batch!
Heat up 8 cups of milk to 112-114 degrees.
Your live cultures will not survive anything hotter than this. Use a thermometer to help you get this just right. Allow the milk to cool a tiny bit.
Stir your starter into the pot and mix well.
As with most things, people have different methods of doing this. I find this way works best for us. Gently but fully mix the starter in with the warmed milk. Then transfer to a liquid measuring cup and pour the mixture evenly into each cup of your maker and put on the lids. Turn on the maker to your desired time – somewhere between 8 to 12 hours.
- Consider getting started early in the morning so that you don’t over process and end up with lumpy yogurt or something that more closely resembles cheese.
- Strain the whey out with cheesecloth once the desired consistency is achieved. If you want a thicker, Greek style yogurt allow it to strain for a long time.
- If you desire a creamy, moist yogurt, reduce the straining time or forgo that process altogether. The whey will collect at the top and can be drained or stirred into the yogurt.
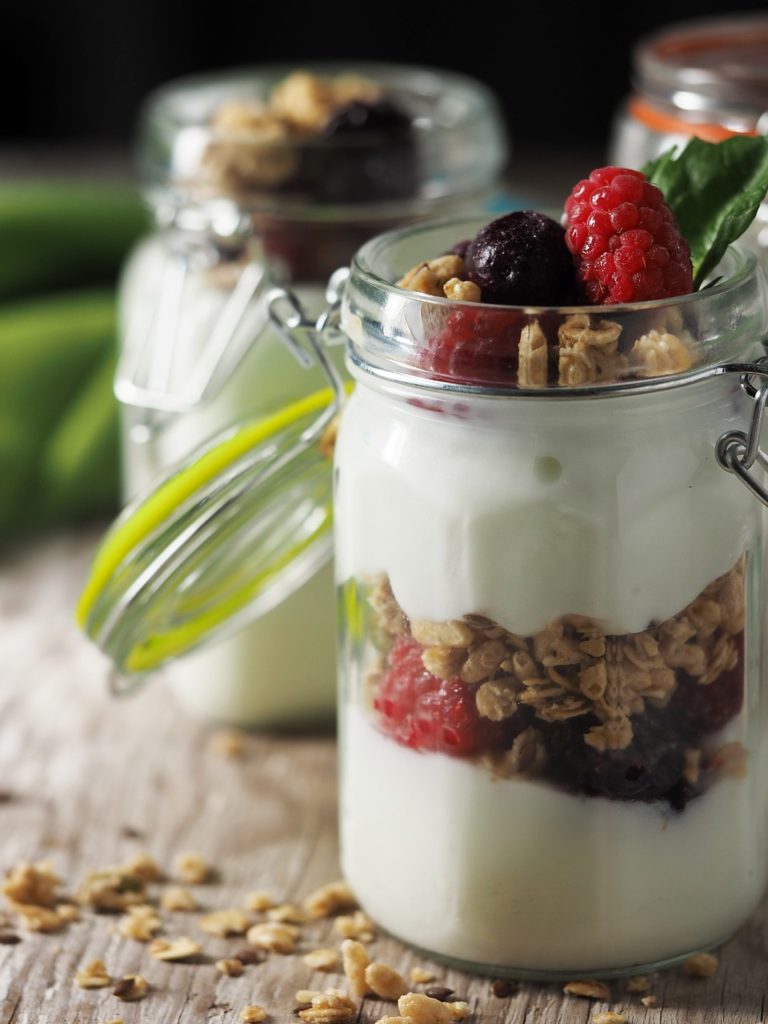
- Flavored yogurts can be made by adding fresh fruit and you can sweeten it up by adding honey, rapadura, or brown rice syrup. Yogurt is also excellent for smoothies and for incorporating into regular meals like waffles or pancakes.
Leave a Reply